
These diy costume fairy/butterfly wings were one of my first crafting projects since we started having babies. This year I’m trying to get back into crafting. I feel like I lost that part of me when I started having kids, or at least it went on the back burner for a bit. I got into survival mode. Nothing prepares you for that change. Anyways I feel like I’ve started to get out of that now that our 3rd baby is getting closer to the 2 year mark.
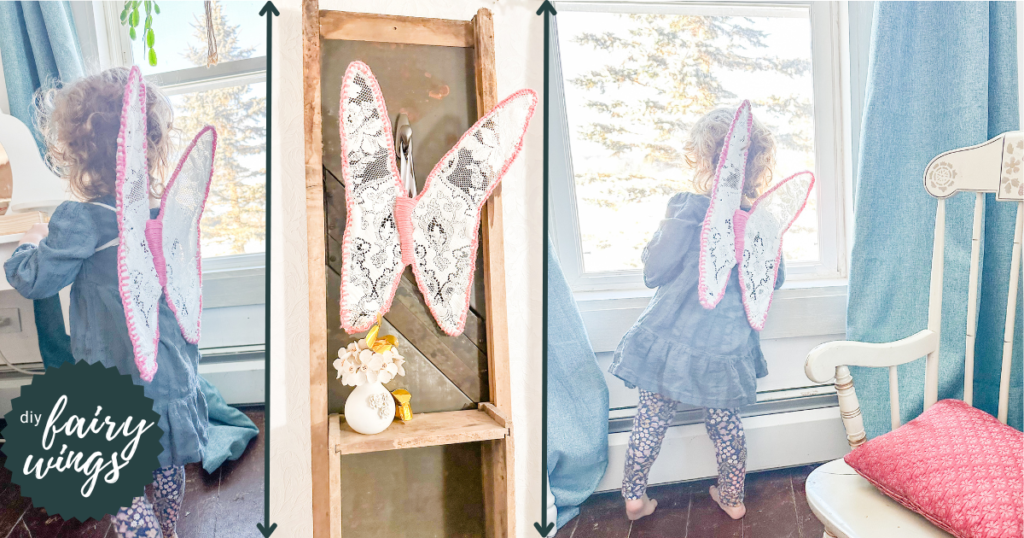
I figured why not dust off the old crafting skills with a birthday surprise for our now 4 year old. She’s been into fairies for awhile. I was going to make fairy wings for her last birthday, but I didn’t give myself enough time. This time I got the supplies a couple of weeks beforehand, and worked on it mostly in the evenings after she went to sleep.
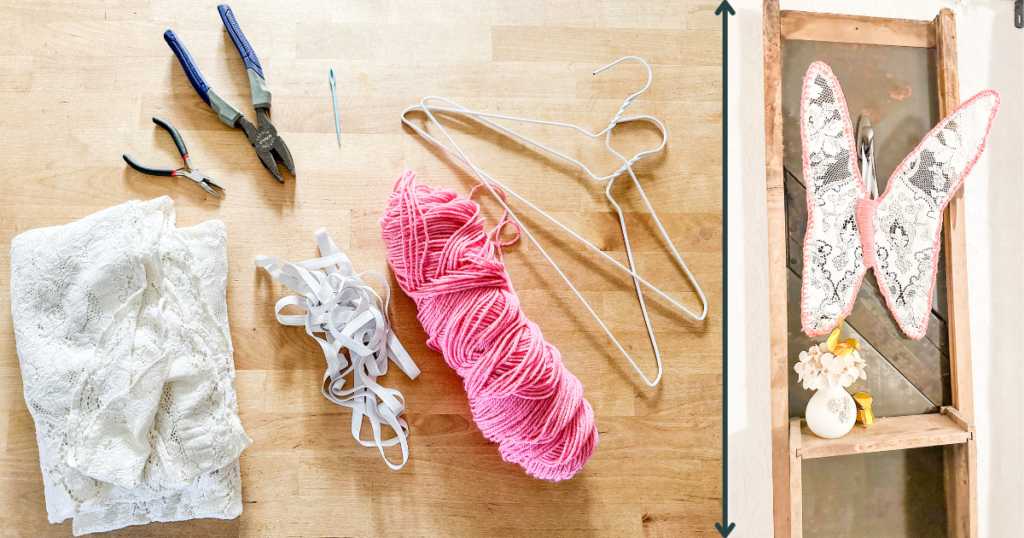
Materials I Used-DIY Costume Fairy/Butterfly Wings:
- Clothes hangers (Do Not Get The Coated Hangers-I made this mistake and shaping and getting them hooked together proved to be more difficult. I had to take the coating off at the ends to get them hooked together and it was pretty time consuming) I used 2 hangers, but if you want bigger wings for a grown up you may want more
- Fabric-I used a thrifted tablecloth
- Yarn
- Elastic

Tools I Used-DIY Costume Fairy/Butterfly Wings:
- Pliers (Mostly needle nose pliers)
- Scissors (For Cutting Fabric and Yarn)
- Needle (the needle I used was actually a smaller metal one not what is pictured above)
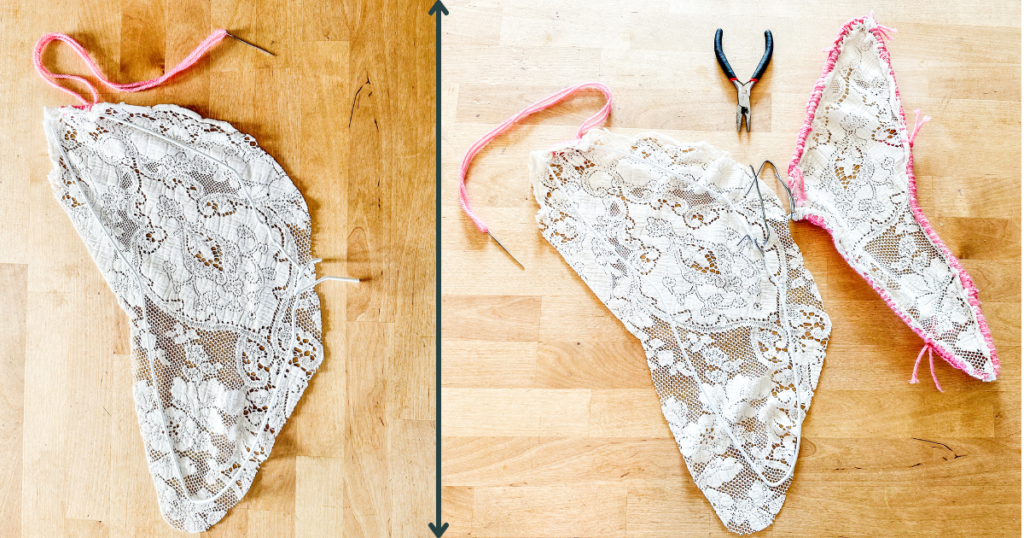
How I Made the DIY Costume Fairy/Butterfly Wings
- First I bent the one coat hanger into the shape I wanted for the wing
- Then I did my best to replicate that shape with another coat hanger
- I then cut the fabric using each wing as a template and adding about an inch to an inch and a half around the edges to give room to wrap the material around the wing
- I ended up mostly wrapping each wing individually. I used what I believe is called a chain stitch to attach the fabric to the frame. Basically I had the needle in the middle of a long piece of yarn that I knotted the two ends together. Then I pushed the needle in to the fabric and pulled the needle through the loop. Just repeating that around the edges. I only stitched around the top to the bottom at first to leave room to attach the wings in the middle. (Note: Make sure to cover any end pieces as you go by stitching over them. Not sure why I didn’t do this for the first one as you can see below I had to tuck those strings in later on.)
- I attached the wings using the pliers to bend the metal so that it hooked together well. This was more of an art than a science. The metal will be wrapped with fabric and yarn so it doesn’t need to be perfect. Mostly you just want it to stay together. I have seen where people make a horizontal piece in between the two wings. That might work better for an adult, I thought it would make the wings too big for our 4 year old.
- I then cut the elastic down to size. I recommend trying these on the intended wing wearer. I ended up cutting mine a little smaller than I probably should have since I wanted this to be a surprise I didn’t have her try them on first. I didn’t want them to be falling off, it’s a fine line.
- To attach I just made a knot to connect the two ends of the elastic. Then I wrapped the elastic around the middle section of the wings and pulled an end through the loop. Keep the knotted end close to the middle so it can be wrapped/hidden by the yarn.
- Finish stitching the fabric around the outside of the wings
- Stitch around center part to hide the metal and elastic. I did big stitches and a lot of them to pad it so it doesn’t hurt her back. Make sure to fully cover all of the hanger and the knotted ends of the elastic. The wider you go the more I think they look like butterfly wings which I think worked for us since we did more of a butterfly theme for her birthday
- Enjoy your new set of costume fairy/butterfly wings, and share the pics below. I’d love to see how they turn out!
That’s a Wrap
I hope this was helpful and gave you ideas on how to create your own diy fairy/butterfly wings. Hopefully I saved you some headache with the notes I provided since I learned a few things along the way. Thanks for visiting our farmhouse! I usually do more home diy projects which you can find here. There may be more of these crafty diys in the future though so stay tuned for that. If you are looking for helping designing your own space you can find information on my ebook here.